Savannah's
Stiff Starter Instructions
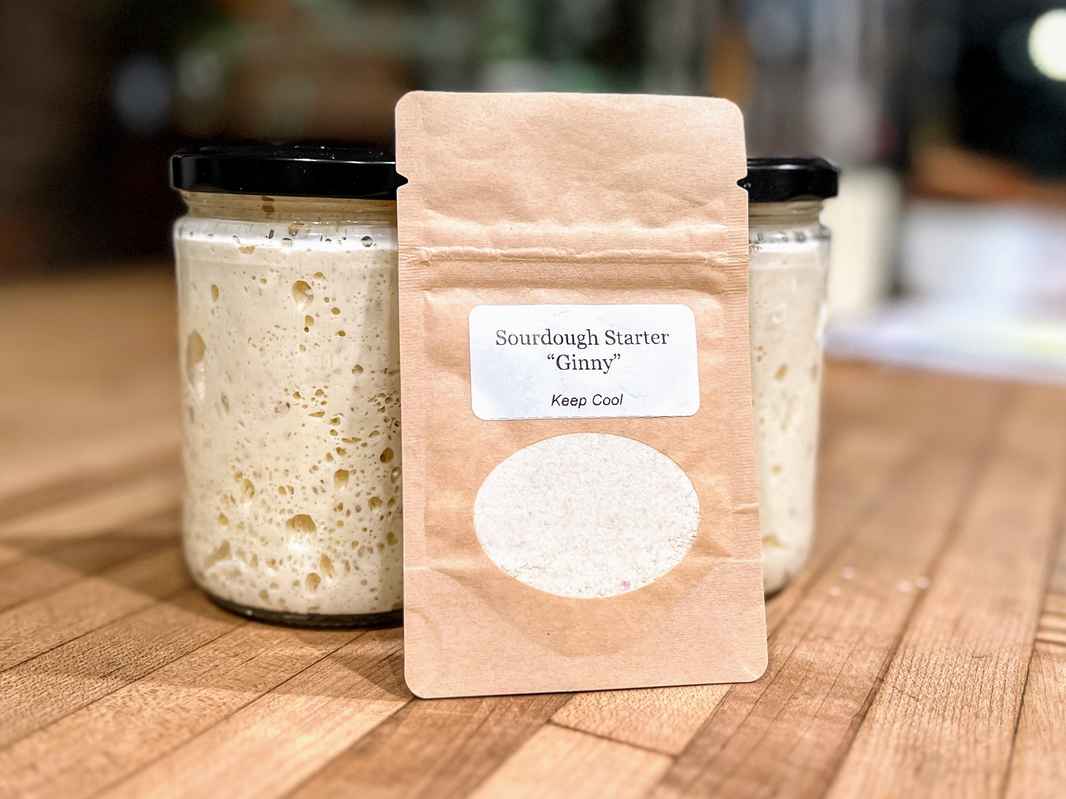
Congratulations on acquiring our dehydrated stiff sourdough starter! Our regular starter "Ginny" and our gluten-free starter "Hazel" are both cultivated here in Savannah's kitchen, and are easy to rehydrate and activate.
With a bit of care, you'll soon have a vibrant sourdough starter ready for all your baking needs. Stiff starters are much easier to manage than wet starters, so there are fewer steps.
Scroll down to read the instructions for activating your stiff starter. Or click the button below to download the instructions. Enjoy!
What You Need to Activate Your Starter:
- The dehydrated sourdough starter
- A clean glass container with a lid or cloth cover
- Distilled or filtered water
- Unbleached all-purpose flour (I always recommend organic) OR King Arthur's Gluten-Free all-purpose flour (if you are using Hazel, the gluten-free starter)
- A fork or spatula
- A kitchen scale that reads in grams
Instructions
Regular Stiff Starter "Ginny"
You can use the button above the video tutorial to download a printable version of the instructions, or read them here.
Day 1:
- Pour 8 grams of the dehydrated starter into your jar.
- Add 40g of warm, filtered water.
- Stir gently until the starter is mostly dissolved in the water.
- Let this sit for 5 - 10 minutes, to let the starter have time to absorb some water.
- Now, add 35g of organic all-purpose flour, and mix vigorously. I really find a fork to be the most helpful tool here.
- Cover with a loose lid, and let sit for 24 hours in a warm (70-75 degrees), draft-free environment.
Day 2:
The next day, you should see some small bubbles on top of, and around the sides of, your jar. If you don’t, don’t panic. You’ve got time!
- Take out 10 grams of your starter that you hydrated yesterday, and add to a clean jar.
- Mix in 30 grams of water and 60 grams of flour.
- Mix vigorously, and evenly knead with your hands to form a cohesive ball of dough - it'll still be sticky. Cover loosely, and let sit for another 24 hours.
Days 3-7:
You’ll repeat the ratios from Day 2 (10g starter, 30g water, 60g flour). You should notice more bubbles and activity in your starter with each feeding.
Once your starter is fully doubled in size, is webby with large and small bubbles, and has a nice yeasty smell, you’ll know that your starter is fully activated and ready to make levain! This may be as few as 5 days.
You want to see this activity fully take place about 4-6 hours after feeding in warmer temperatures, and 8-12 hours in cooler temps.
Maintenance
You only need to feed your starter when you need more of it.
When you are getting low on the starter, make sure you leave 10g of stiff starter, which is roughly a teaspoon. Then you’ll add the 30 g of water and the 60 g of flour. Wait for the starter to fully activate and then pop it in the fridge or make levain for your bread!
If you think you might not be baking for a while, I would advise against sticking your mostly empty jar of stiff starter into the fridge. Go ahead and make more of it, let it activate, then put it in the fridge. While your starter drying out won’t kill it, you’d have to redo all these steps to wake it back up. So don’t let it dry out in the jar in the fridge.
Gluten-Free Stiff Starter "Hazel"
You can use the button above the video tutorial to download a printable version of the instructions, or read them here.
Day 1:
- Pour 8 grams of the dehydrated starter into your jar.
- Add 32 g of warm, filtered water.
- Stir gently until the starter is mostly dissolved in the water.
- Let this sit for 5 - 10 minutes, to let the starter have time to absorb some water
- Now, add 32 g of gluten free all-purpose flour or personal preference of gluten free flour, and mix vigorously. I really find a fork to be the most helpful tool here.
- Cover with a loose lid, and let sit for 24 hours in a warm (70-75 degrees), draft-free environment.
Day 2:
The next day, you should see some small bubbles on top of, and around the sides of, your jar. If you don’t, don’t panic. You’ve got time!
- Take out 20 grams of your starter that you hydrated yesterday, and add to a clean jar.
- Then mix in 60 grams of water and 60 grams of GF flour. Mix vigorously, and evenly knead with your hands to form a cohesive ball of dough - it'll still be sticky.
- Cover loosely, and let sit for another 24 hours.
Days 3 - 7
You’ll repeat the ratios from Day 2 (20g starter, 60g water, 60g GF flour). You should notice more bubbles and activity in your starter with each feeding.
Once your starter is fully doubled in size, is webby with large and small bubbles, and has a nice yeasty smell, you’ll know that your starter is fully activated and ready to make levain! This may be as few as 5 days.
You want to see this activity fully take place about 4-6 hours after feeding in warmer temperatures, and 8-12 hours in cooler temps.
Maintenance
You only need to feed your starter when you need more of it.
When you are getting low on the starter, make sure you leave 20g of stiff starter, which is roughly a teaspoon. Then you’ll add the 60g of water and the 60g of flour. Wait for the starter to fully activate and then pop it in the fridge or make levain for your bread!
You always want your starter to be the consistency of thick frosting. This is *highly* dependent on the type and brand of flours used so feel free to mix flours (rice, sorghum, buckwheat) in your starter and add more water or flour to reach appropriate consistency.
If you’re not using your starter for a week or two, feel free to store it in your fridge, giving it a feeding before using to bake with.
Extra Tips!
Tip #1: If you find that your starter is not showing much activity, try placing it in a slightly warmer location, ensuring it's away from direct sunlight.
Tip #2: Avoid using chlorinated tap water, as the chlorine can inhibit the growth of the beneficial microbes in your starter.
Tip #3: The discarded starter from feedings can be used in pancakes, waffles, or other recipes that don’t rely on its rising power.
Happy Baking! Your patience will be rewarded with a robust and flavorful sourdough starter that will be your baking friend for generations to come.